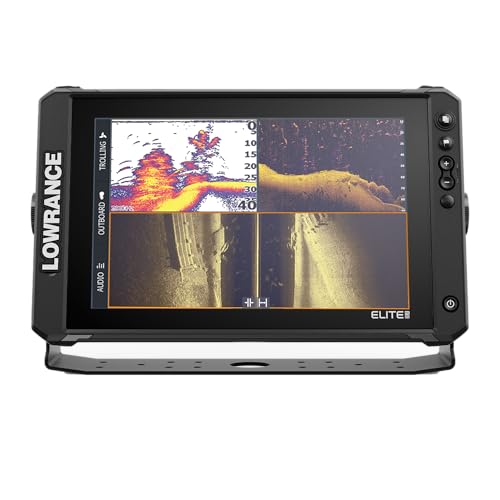

You just unboxed your new Humminbird PiranhaMAX 4 fish finder, and now you face the real challenge: getting it mounted and working on your boat without a headache. The tilt and swivel mount seems straightforward, but aligning the transducer, routing the cable, and adding a sun visor can turn a quick job into an afternoon project. This installation review walks you through the process for both the standard PiranhaMAX 4 and the DI model, plus highlights a must-have accessory that protects your screen and improves visibility. Whether you are a first-time buyer or upgrading from an older unit, these tips will save you time and frustration.


Buying Guide
Mounting Location and Stability
Where you place the PiranhaMAX 4 on your console or deck affects both visibility and cable management. The included tilt and swivel mount gives you flexibility, but you want a spot that keeps the screen at eye level without blocking other controls. For bass boats and center consoles, a flat surface near the helm works best. If you run a kayak, consider a RAM mount or a track adapter for easier repositioning. Check out our guide on the best fish finders for bass boat to see how other anglers set up their units.
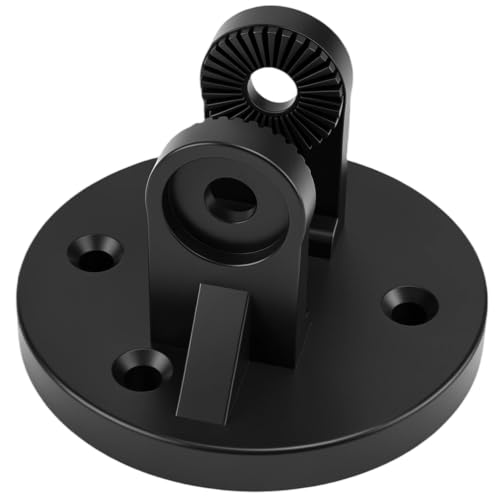
Once you pick the location, dry-fit the mount before drilling. Mark the screw holes with a pencil, then use a level to ensure the bracket sits straight. The stainless-steel screws from the Aobelieve sun visor kit also work as replacements if you lose one during installation.
Transducer Alignment and Cable Routing
The XNT 9 28 T transducer on the standard PiranhaMAX 4 and the XNT 9 DI T on the DI model need proper alignment to deliver accurate sonar readings. Mount the transducer on the transom, about an inch below the bottom of the hull, and parallel to the waterline. If the transducer tilts up or down, you will lose bottom contact at speed or get false depth readings.
Route the cable along the transom and up to the unit using zip ties or adhesive clips. Keep the cable away from electrical wires to avoid interference. For a cleaner look, run the cable through a rigging tube or conduit. If you are new to fish finders, our garmin striker vivid 4cv review covers similar installation steps that apply here.
Screen Protection and Visibility
The 4-inch display on the PiranhaMAX 4 is bright enough for most conditions, but direct sunlight can wash out the screen, especially when the sun is low. The Aobelieve sun visor blocks glare and lets you see sonar details without shading the unit with your hand. It also includes a snap-on screen cover that protects against scratches and dust during transport.
For anglers who fish in rough water or rain, the visor doubles as a splash guard. This accessory is a cheap upgrade that extends the life of your display. If you want a larger screen, consider our picks for the best 9 inch fish finders for side imaging.
Sonar Performance and Settings
Both the standard PiranhaMAX 4 and the DI model use dual beam sonar, which lets you switch between a narrow 20-degree beam for detail and a wide 60-degree beam for coverage. The DI version adds down imaging, giving you a photo-like view of structure below the boat. After installation, take the boat out and adjust the sensitivity and chart speed to match your water depth and bottom type.
Start with the default settings and tweak from there. The Fish ID+ feature helps identify targets, but experienced anglers often turn it off to interpret raw returns. For a deeper comparison of sonar technologies, read our lowrance elite FS vs HDS pro analysis.
Final Thoughts
After evaluating the installation process for both models, we recommend the Humminbird PiranhaMAX 4 Fish Finder for anglers who want reliable dual beam sonar without breaking the bank, while the Humminbird Piranhamax 4 DI is the better choice if you need down imaging to see submerged structure in crisp detail. Pair either unit with the Aobelieve sun visor and screen cover for added protection and visibility on sunny days.
Frequently Asked Questions
How long does it take to install a Humminbird PiranhaMAX 4?
Most installations take between 30 and 60 minutes, depending on how you route the transducer cable and whether you use a pre-drilled mount. The tilt and swivel mount comes pre-assembled, so you only need to attach the bracket to your boat and connect the transducer.
Can I use the PiranhaMAX 4 on a kayak?
Yes, the compact size and low power draw make it a good fit for kayaks. You will need a kayak-specific transducer mount or a scupper hole adapter. For more options, check out our best handheld fish finder guide for portable alternatives.
Does the PiranhaMAX 4 DI require a different transducer than the standard model?
Yes, the DI model uses the XNT 9 DI T transducer, which includes a down imaging element. The standard PiranhaMAX 4 uses the XNT 9 28 T transducer that only supports dual beam sonar. Both transducers mount the same way on the transom.
Will the Aobelieve sun visor fit the PiranhaMAX 4 DI?
Yes, the visor is designed for the entire PiranhaMAX 4 series, including the DI model. It fits snugly over the bezel and leaves all buttons and ports accessible. The stainless-steel screws provide a secure hold even in rough water.